Stainless Steel Pipe
Durable and corrosion-resistant stainless steel pipes for various applications.
Stainless steel tube is a cylindrical hollow structure made of stainless steel, which is a steel alloy containing a high percentage of chromium.
Stainless steel tubes are known for their corrosion resistance, durability, and versatility.

Stainless steel tubes are widely used in various industries due to their durability, corrosion resistance, and aesthetic appeal.
Stainless Steel Tube is a hollow steel bar, a large number of pipes used for conveying fluids, such as oil, gas, water, gas, steam,heat exchanger,mechinical machine. In addition, engaging in bending, torsional strength of the same, lighter, and they are also widely used in the manufacture of mechanical parts and engineering structures. Also used in producing all kinds of conventional weapons, the barrel, artillery shells and so on.
Stainless steel tubes come in different sizes, wall thicknesses, and lengths to meet specific project requirements. They can be manufactured through processes like welding and cold-drawing. The specific material grade used for stainless steel tubes may vary, with the most common grade being 1.4301 (AISI 304).
Stainless steel tubes find applications in industries such as construction, automotive, oil and gas, chemical processing, food and beverage, and pharmaceuticals. They are used for fluid transportation in industries like oil and gas, water treatment plants, and chemical processing. In the construction industry, stainless steel tubes are used for structural support, architectural features, and decorative purposes. They are also utilized in heat exchangers for transferring heat between fluids.
Stainless steel tubes can be customized to different grades based on specific requirements. Here are some points to consider regarding custom grades of stainless steel tube:
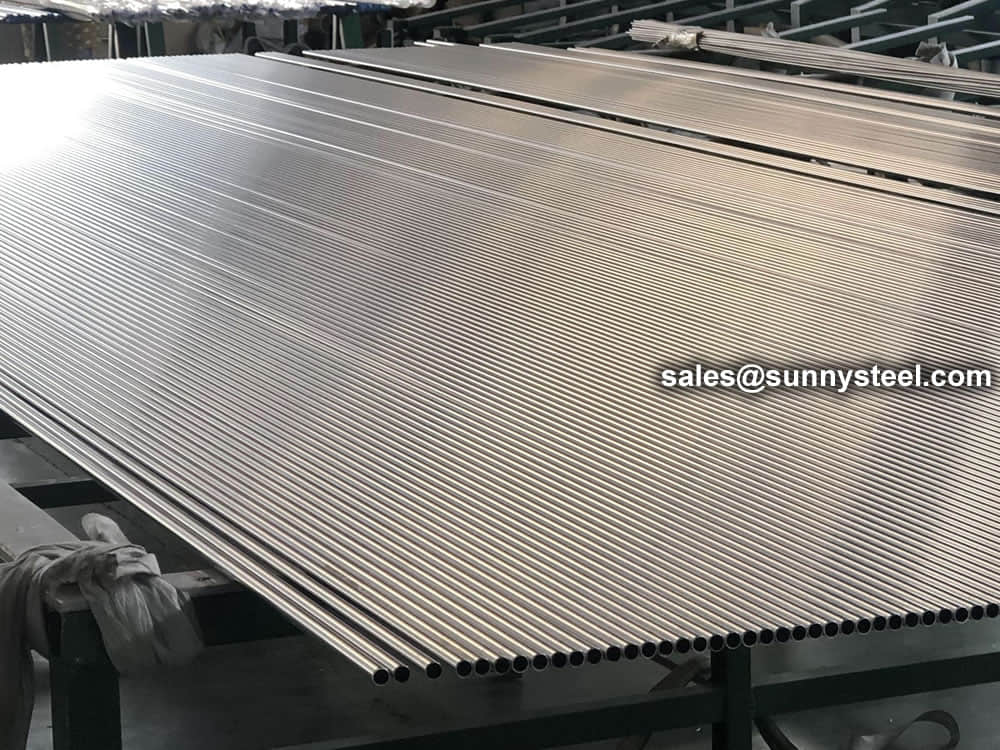
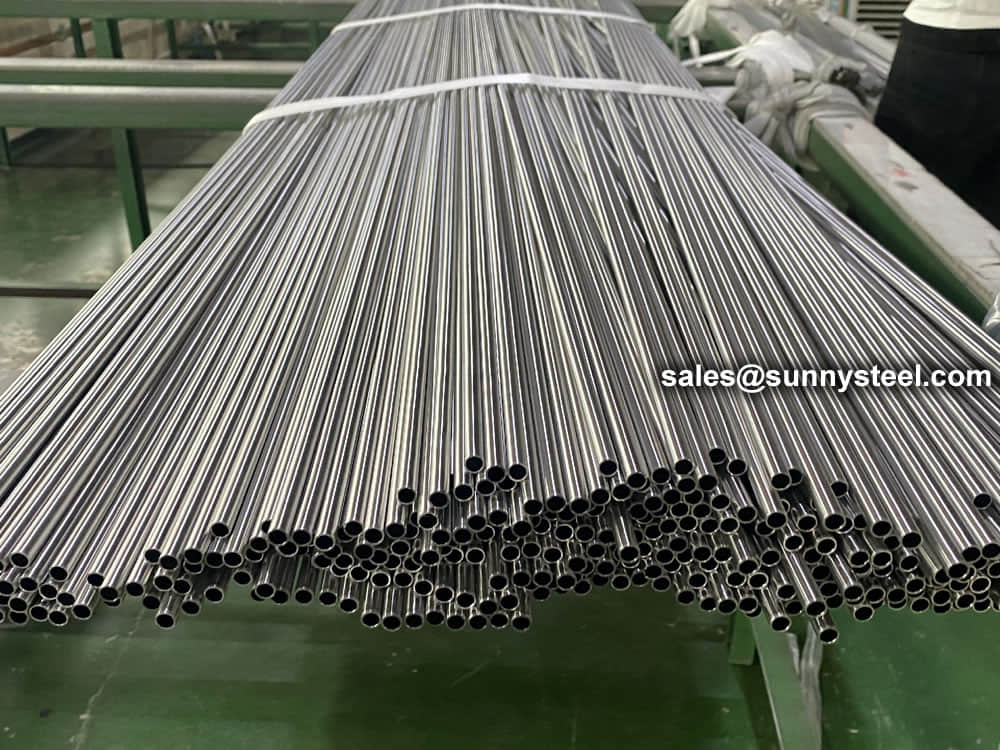


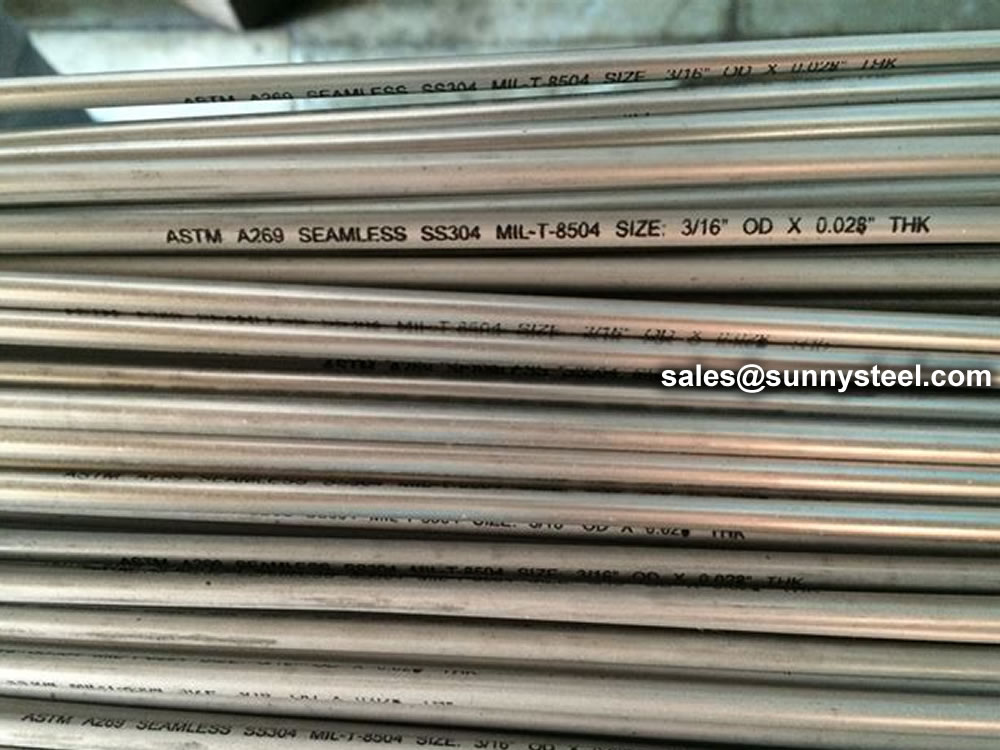
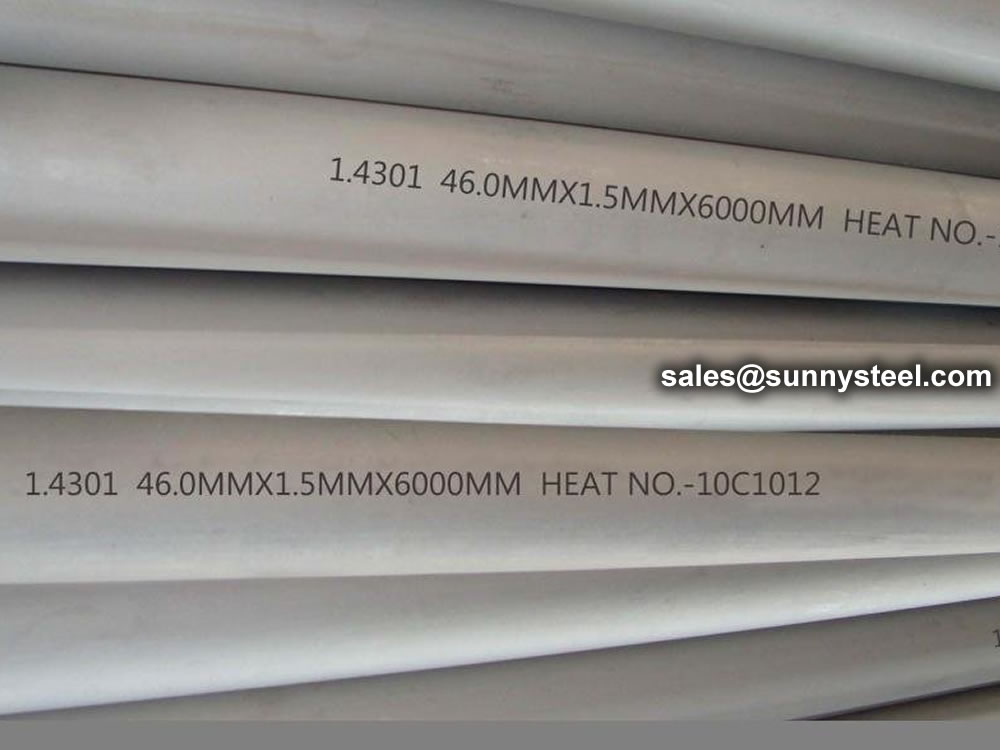

Our specialized process for seamless tubing manufacturing begins with either an extruded hollow tube or a solid bar drilled to our exacting specifications. The material is then reduced in size a number of times through various cold working techniques until it reaches the specific size, tolerances, and temper required by our customer. After each cold working cycle the tubes are cut, cleaned and heat treated in preparation for the next cold working step.
Stainless Steel Bar-Inspection – Peeling – Cut – Center – Heating – Piercing – Inspection/Grinding – Pickling – Cold Rolling/Drawing – Pickling – Solution Annealing – Straightening – Cutting – Bright Annealing/Annealing Pickeling – Composition Inspect – Marking – Packing – Storing – shipping
Pilfering reduces the size of the tube across three dimensions – outside diameter (OD), internal diameter (ID) and wall thickness. We roll a die set with a tapered groove across the outside of the tube while supporting the inside diameter using a taper-matched, hardened steel mandrel.
In a single cold working step, we can achieve a significant reduction in cross-sectional area while minimizing material loss and, most importantly, improving the material’s microstructure. Seamless tubes constitute the majority of volume processed by tube reducing or pilgering.
Like pilgering, tube rolling also uses compression to reduce the size of seamless tubes. However, while pilgering uses a pair of grooved, tapered dies to work the metal over a tapered mandrel, tube rolling utilizes one or two sets of rolls with constant cross-section grooves on the circumference of the tube.
Generally, the process employs a cylindrical mandrel with little or no taper. The rolls are driven by rack and pinion gears of different radii along profiled cams, completing multiple 360º rotations around the tube.
Cold rolling is a very precise method of reducing very thin walled and/or smaller diameter tubes, and is often used as the final cold working step. By rolling, we’re able to achieve exceptional control over dimensional tolerances and surface finish while also minimizing material loss and improving the metal’s microstructure.
Because it uses compression, tube rolling is well suited to processing unique metals like titanium and zirconium alloys. Our cold rolling capabilities include both classic 2-roll (single roll set) tube rollers and an advanced 3-roll approach.
Typically used as the first form of size reduction for seamless tubes, cold drawing reduces the diameter by pulling the tube through a die that is smaller than the tube. In order to fit the tube into the die, one end is ‘swaged’ or ‘tagged’ thereby reducing the diameter of the leading end before drawing. Next, the narrowed end is passed through the die and clamped to a drawing trolley which pulls the tube through the die. After drawing the ‘tag’ is cropped from the tube end prior to cleaning.
Three types of cold drawing techniques:
Sink drawing
This is the simplest of the three drawing methods, as there is no tooling to support the ID surface. The tube is drawn through a die made of polished tool steel or industrial diamond, thereby reducing its inside and outside diameters. Our specialized lubrication and application techniques, combined with our proprietary die profiles, enable the OD surface to become smoother as the tube is drawn. Since the inside diameter is not constrained, the wall thickness of the tube will normally increase during drawing, and the ID surface finish will normally become rougher during a sink draw.
Rod drawing<
Rod drawing is our most commonly used cold draw method, primarily for intermediate or in-process drawing stages, where both the outside diameter and wall thickness are reduced at the same time.
The tube is loaded over a hardened steel mandrel rod and both are then drawn through a die. This squeezes the tube onto the rod, reducing the outside diameter and thinning the wall simultaneously. The die and mandrel determine the size of the drawn tube, which is then slightly expanded by applying pressure to the outside of the tube so that the rod can be removed. Since larger reductions in cross-sectional area can be achieved by rod drawing, this method is used for mid-process stages to reduce tube sizes prior to the final drawing cycle.
Plug drawing
This type of drawing is used to achieve the best possible surface finish and the greatest control over both dimensions and final temper. The outside diameter and wall thickness of the tube are both reduced during plug drawing, as the tube travels through a die and over a stationary plug/mandrel made of high grade tool steel. The plug or mandrel has a polished surface and is attached to a fixed back rod, which is carefully positioned within the drawing die. The tube is loaded over the mandrel/back rod. As the tube passes through the die, the burnishing action of the metal flowing over the stationary plug imparts a high tolerance surface finish inside the tube.
When properly lubricated and prepared, the ID will show very few flaws and finishes of 16 RMS or better can be achieved. Plug drawing is normally chosen for the final draw stage because it achieves a high quality surface finish, exceptional dimensional control, and positive influence on tensile strength requirements.
Annealing is used to soften the metal before further cold working or fabrication processes, and improves the overall metallurgical microstructure of the tube. During tube reduction or cold drawing, it can become hard and somewhat brittle. To be able to draw the tube again, stresses formed during cold working need to be removed to return the material to its normal state.
During annealing the tube is heated to a controlled temperature (up to 2100°F) and soak time. Through this process the tube remains in shape, but the grains in the structure of the tube reform into a regular unstressed pattern. The resulting annealed tube is softer and suitable for redrawing.
Our closely controlled annealing and heat treat processes are audited regularly by our nuclear, medical, and aerospace customers.
Drawing and annealing generally results in some degree of bowing, producing a slight bend in the tubing. We use multiple roll mechanical straighteners in the first stage of finishing. The straightener applies pressure and flex to the product in order to remove bends or bows, resulting in a straightness level of 0.010” per foot, or better. Straightening can introduce slight changes to the size and mechanical properties of the tubing, so these aspects are very carefully controlled during the process.
ASTM A269 TP316L stainless tube refers to a specific type of stainless steel tubing that conforms to the ASTM A269 standard and is made from grade TP316L stainless steel.
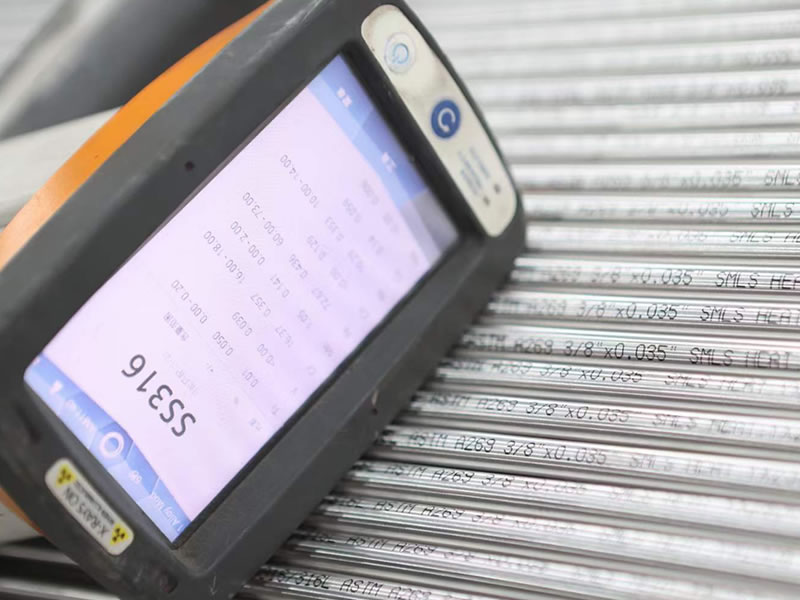
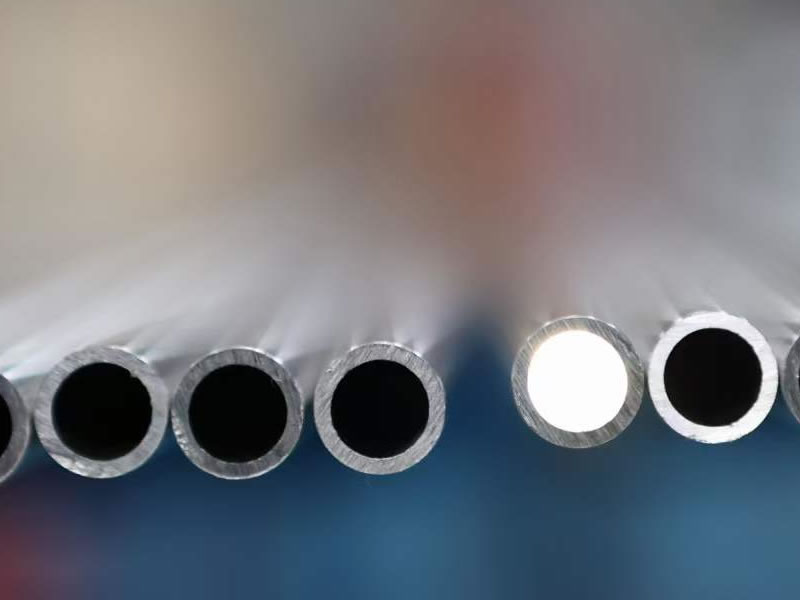
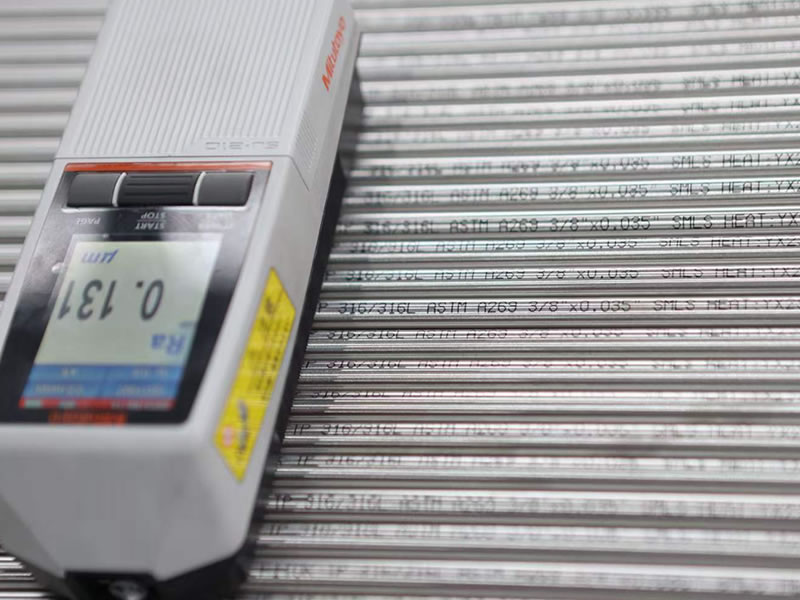
The ASTM A269 TP316 stainless tubes undergo a comprehensive quality assurance process, including underwater ultrasonic testing, eddy current testing, borescope inspection, spectroscopy, and roughness testing.



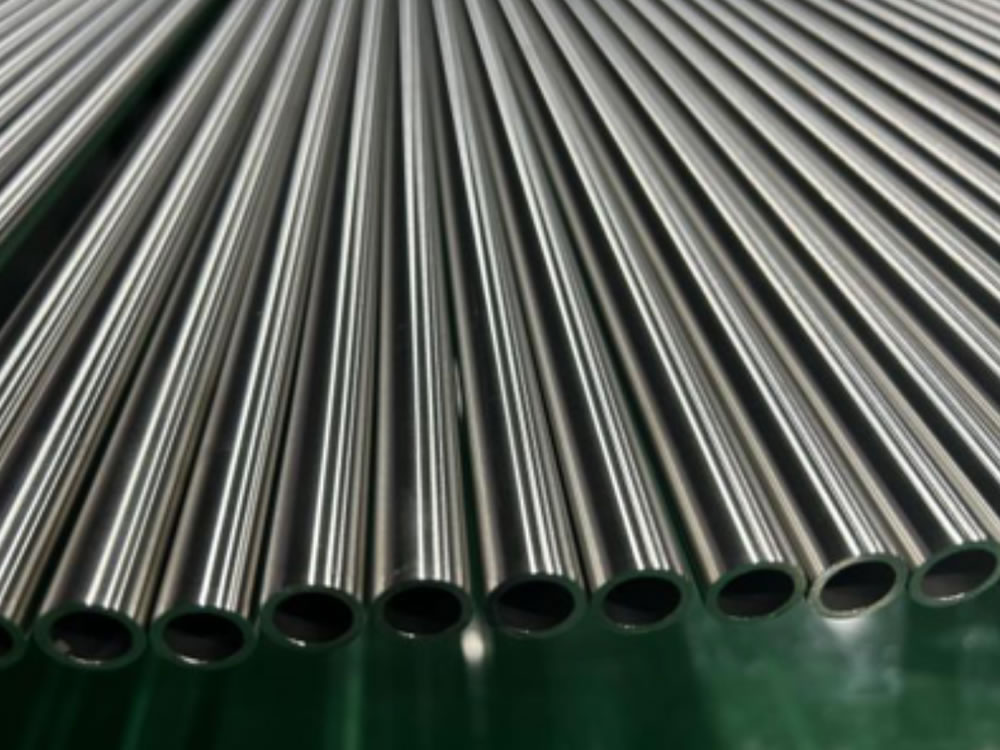


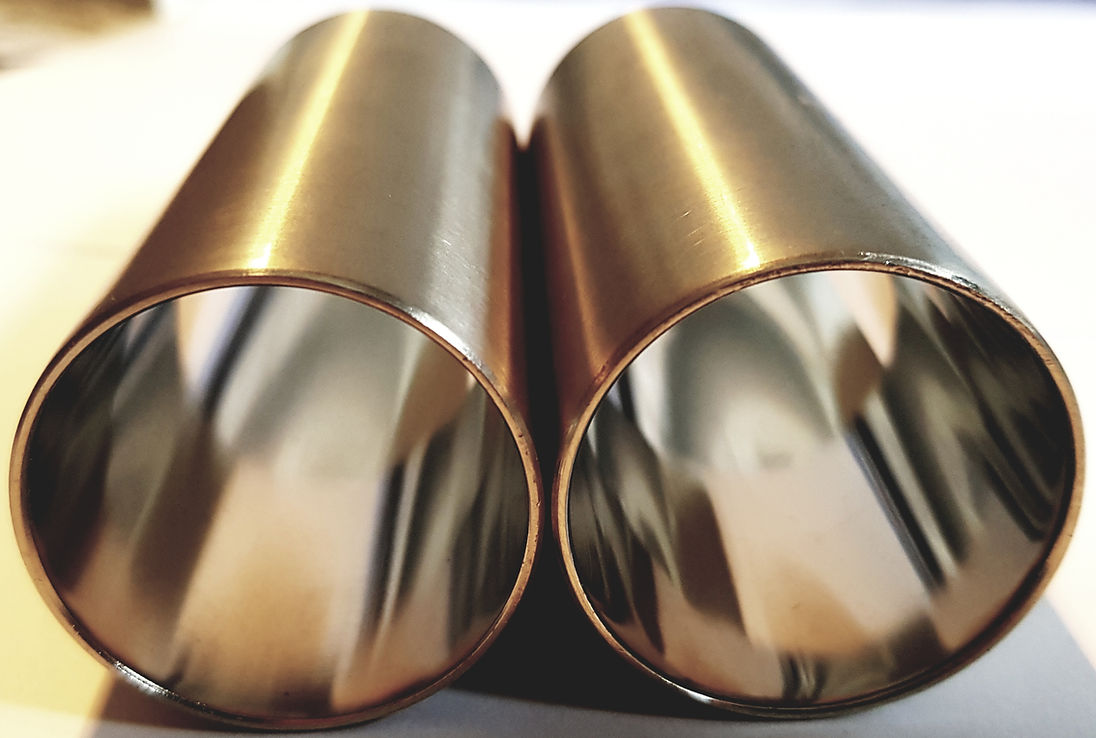
The terms AP, MP, BA, and EP refer to different surface finishes or treatments applied to the stainless steel.
These finishes are essential in various industries where the appearance, corrosion resistance, and cleanliness of the stainless steel are critical. Here's an explanation of each term:
EP stands for electropolished, a process where the stainless steel tube, after annealing and acid pickling, undergoes electropolishing using electrodes and acid in a tank, creating a chemical reaction to achieve a clean surface through electrochemical polishing. EP tubes are used in pipeline projects with high cleanliness requirements for the stainless steel tube surface.
AP refers to the condition where the surface of the stainless steel tube is treated after annealing through acid pickling to remove the oxide layer. Stainless steel industrial pipes sold in the market, known for their wide applications, are extensively used in the chemical industry for pipeline needs.
MP denotes a stainless steel seamless tube that undergoes mechanical polishing after annealing and acid pickling to achieve a bright and clean surface. This finish is primarily utilized in the pharmaceutical and food industries.
BA is specific to precision-rolled stainless steel tubes. Also known as precision tubes, BA tubes skip the regular annealing and acid pickling process after semi-finished rolling. Instead, they use argon gas in a vacuum annealing furnace to remove surface oil stains generated during the rolling process, preserving the brightness of the surface without leaving an oxide layer.
These surface finishes cater to various industry requirements, offering different levels of brightness, cleanliness, and corrosion resistance based on specific applications.

The versatility of ASTM A269 lends itself to a wide array of applications across various industries:
In aggressive chemical environments, where corrosion resistance is paramount, ASTM A269 stainless steel tubes find applications in transporting and containing corrosive fluids and gases.
Pharmaceutical industries demand hygienic and sterile environments. Stainless steel tubes complying with ASTM A269 are utilized in processes involving high-purity fluids and gases.
For the safe transport of food and beverages, ASTM A269 tubing ensures that no contaminants leach into consumable products.
In order to solve the cumbersome and difficult to remember stainless steel grades, improve the practicability of the brand representation, and the contrast with the international standard grades, China has formulated the "Universal Code System for Steel and Alloy Grades", such as 06Cr19Ni10, corresponding to 304. Different grades of stainless steel have different ingredients, but they all have a national standard. The standards of each country are also different.
| No | China,GB | Japan | American | Korea | EUR | Indai | Australia | Tai Wan | ||
|---|---|---|---|---|---|---|---|---|---|---|
| Old | New(07.10) | JIS | ASTM | UNS | KS | BS EN | IS | IS | CNS | |
| Austenitic stainless steel | ||||||||||
| 1 | 1Cr17Mn6Ni5N | 12Cr17Mn6Ni5N | SUS201 | 201 | S20100 | STS201 | 1.4372 | 10Cr17Mn6Ni4N20 | 201-2 | 201 |
| 2 | 1Cr18Mn8Ni5N | 12Cr18Mn9Ni5N | SUS202 | 202 | S20200 | STS202 | 1.4373 | - | 202 | |
| 3 | 1Cr17Ni7 | 12Cr17Ni7 | SUS301 | 301 | S30100 | STS301 | 1.4319 | 10Cr17Ni7 | 301 | 301 |
| 4 | 0Cr18Ni9 | 06Cr19Ni10 | SUS304 | 304 | S30400 | STS304 | 1.4301 | 07Cr18Ni9 | 304 | 304 |
| 5 | 00Cr19Ni10 | 022Cr19Ni10 | SUS304L | 304L | S30403 | STS304L | 1.4306 | 02Cr18Ni11 | 304L | 304L |
| 6 | 0Cr19Ni9N | 06Cr19Ni10N | SUS304N1 | 304N | S30451 | STS304N1 | 1.4315 | - | 304N1 | 304N1 |
| 7 | 0Cr19Ni10NbN | 06Cr19Ni9NbN | SUS304N2 | XM21 | S30452 | STS304N2 | - | - | 304N2 | 304N2 |
| 8 | 00Cr18Ni10N | 022Cr19Ni10N | SUS304LN | 304LN | S30453 | STS304LN | - | - | 304LN | 304LN |
| 9 | 1Cr18Ni12 | 10Cr18Ni12 | SUS305 | 305 | S30500 | STS305 | 1.4303 | - | 305 | 305 |
| 10 | 0Cr23Ni13 | 06Cr23Ni13 | SUS309S | 309S | S30908 | STS309S | 1.4833 | - | 309S | 309S |
| 11 | 0Cr25Ni20 | 06Cr25Ni20 | SUS310S | 310S | S31008 | STS310S | 1.4845 | - | 310S | 310S |
| 12 | 0Cr17Ni12Mo2 | 06Cr17Ni12Mo2 | SUS316 | 316 | S31600 | STS316 | 1.4401 | 04Cr17Ni12Mo2 | 316 | 316 |
| 13 | 0Cr18Ni12Mo3Ti | 06Cr17Ni12Mo2Ti | SUS316Ti | 316Ti | S31635 | - | 1.4571 | 04Cr17Ni12MoTi20 | 316Ti | 316Ti |
| 14 | 00Cr17Ni14Mo2 | 022Cr17Ni12Mo2 | SUS316L | 316L | S31603 | STS316L | 1.4404 | -02Cr17Ni12Mo2 | 316L | 316L |
| 15 | 0Cr17Ni12Mo2N | 06Cr17Ni12Mo2N | SUS316N | 316N | S31651 | STS316N | - | - | 316N | 316N |
| 16 | 00Cr17Ni13Mo2N | 022Cr17Ni13Mo2N | SUS316LN | 316LN | S31653 | STS316LN | 1.4429 | - | 316LN | 316LN |
| 17 | 0Cr18Ni12Mo2Cu2 | 06Cr18Ni12Mo2Cu2 | SUS316J1 | - | - | STS316J1 | - | - | 316J1 | 316J1 |
| 18 | 00Cr18Ni14Mo2Cu2 | 022Cr18Ni14Mo2Cu2 | SUS316J1L | - | - | STS316J1L | - | - | - | 316J1L |
| 19 | 0Cr19Ni13Mo3 | 06Cr19Ni13Mo3 | SUS317 | 317 | S31700 | STS317 | - | - | 317 | 317 |
| 20 | 00Cr19Ni13Mo3 | 022Cr19Ni13Mo3 | SUS317L | 317L | S31703 | STS317L | 1.4438 | - | 317L | 317L |
| 21 | 0Cr18Ni10Ti | 06Cr18Ni11Ti | SUS321 | 321 | S32100 | STS321 | 1.4541 | 04Cr18Ni10Ti20 | 321 | 321 |
| 22 | 0Cr18Ni11Nb | 06Cr18Ni11Nb | SUS347 | 347 | S34700 | STS347 | 1.455 | 04Cr18Ni10Nb40 | 347 | 347 |
| Austenitic ferritic stainless steel (duplex stainless steel) | ||||||||||
| 23 | 0Cr26Ni5Mo2 | - | SUS329J1 | 329 | S32900 | STS329J1 | 1.4477 | - | 329J1 | 329J1 |
| 24 | 00Cr18Ni5Mo3Si2 | 022Cr19Ni5Mo3Si2N | SUS329J3L | - | S31803 | STS329J3L | 1.4462 | - | 329J3L | 329J3L |
| 0Cr18Ni10Ti Iron type stainless steel | ||||||||||
| 25 | 0Crl3Al | 06Crl3Al | SUS405 | 405 | S40500 | STS405 | 1.4002 | 04Cr13 | 405 | 405 |
| 26 | - | 022Cr11Ti | SUH409 | 409 | S40900 | STS409 | 1.4512 | - | 409L | 409L |
| 27 | 00Cr12 | 022Cr12 | SUS410L | - | - | STS410L | - | - | 410L | 410L |
| 28 | 1Cr17 | 10Cr17 | SUS430 | 430 | S43000 | STS430 | 1.4016 | 05Cr17 | 430 | 430 |
| 29 | 1Cr17Mo | 10Cr17Mo | SUS434 | 434 | S43400 | STS434 | 1.4113 | - | 434 | 434 |
| 30 | - | 022Cr18NbTi | - | - | S43940 | - | 1.4509 | - | 439 | 439 |
| 31 | 00Cr18Mo2 | 019Cr19Mo2NbTi | SUS444 | 444 | S44400 | STS444 | 1.4521 | - | 444 | 444 |
| Martensitic stainless steel | ||||||||||
| 32 | 1Cr12 | 12Cr12 | SUS403 | 403 | S40300 | STS403 | - | - | 403 | 403 |
| 33 | 1Cr13 | 12Cr13 | SUS410 | 410 | S41000 | STS410 | 1.4006 | 12Cr13 | 410 | 410 |
| 34 | 2Cr13 | 20Cr13 | SUS420J1 | 420 | S42000 | STS420J1 | 1.4021 | 20Cr13 | 420 | 420J1 |
| 35 | 3Cr13 | 30Cr13 | SUS420J2 | - | - | STS420J2 | 1.4028 | 30 Cr13 | 420J2 | 420J2 |
| 36 | 7Cr17 | 68Cr17 | SUS440A | 440A | S44002 | STS440A | - | - | 440A | 440A |
In the production process, because the actual size is difficult to meet the nominal pipe size requirement, that is, it is often larger or smaller than the nominal size, so the standard stipulates that there is a difference between the actual size and the nominal size of the stainless steel pipe.
A positive difference is called a positive deviation, and a negative difference is called a negative deviation.
Outside diameter (OD), wall thickness and length are three basic parameters in the process of manufacture and distribution for stainless steel tube & pipe, and these parameters have been standardized.
Outer diameter and wall thickness are particularly important, they are not only the basic support for meeting the design requirements of various types of applications such as strength, stiffness and fluid delivery, but also have a decisive influence on the subsequent processing, therefore, standards for stainless steel tube & pipe diameter and wall thickness of the manufacturing accuracy (tolerance) should been standardized.
A. Nominal Pipe size: It is the nominal size specified in the standard such ASME B36.10m, ASME B36.19m, the ideal size that users and manufacturers hope to obtain, and the order size specified in the contract.
B. Actual Pipe size: It is the actual size obtained during the production process, which is often larger or smaller than the nominal size. This phenomenon of being larger or smaller than the nominal size is called deviation.
European stainless steel tube & pipe standards specify 4 classes outer diameter and wall thickness in percentage or absolute value on the basis of nominal dimension.
Generally, larger diameter or heavy wall thickness stainless steel pipe use percentage, small diameter or thin wall thickness stainless steel tube use absolute value.
| Standard | Manufacturing Process & Type | Outer Diameter Tolerance | Wall Thickness Tolerance | Others | |
|---|---|---|---|---|---|
| OD (Mm) | Class | ||||
| EN10216-5 | Hot Finished Seamless Tube | 219.1-610 | D1 | +22.5%T,-15%T | T/D≤0.05 |
| T1 | T/D≤0.09 | ||||
| T2 | T/D>0.09 | ||||
| 30-219.1 | D2 | T1 | |||
| T2 | |||||
| Cold Finished Seamless Tubes | ≤219.1 | D3 | T3 | ||
| D4 | T4 | Agreement | |||
| EN10297-2 | Hot Finished Seamless Tube | D1 | T1 | ||
| D2 | T2 | Agreement | |||
| Cold Finished Seamless Tubes | D3 | T3 | |||
| D4 | T4 | Agreement | |||
| EN10217-7 | Welded Tubes | >168.3 | D2 | T3 | |
| ≤168.3 | D3 | T3 | |||
| D4 | T3 | Agreement | |||
| EN10296-2 | Welded Tubes | >168.3 | D2 | T3 | |
| ≤168.3 | D3 | T3 | |||
| ≤114.3 | D4 | T3 | Agreement | ||
| EN10312 | Welded Tubes | Series 1 | D4 | T3 | T=0.6-2 Mm |
| Series 2 | D3 – D4 | T3 – T4 | T=1-3 Mm | ||
From D1 to D4 class for outer diameter, and T1 to T4 for wall thickness tolerance comply to DIN EN ISO 1127 standard, stainless steel tubes – Dimensions, tolerances and conventional masses per unit length.
| Outside Diameter | Wall Thickness | ||
|---|---|---|---|
| Class | Tolerance | Class | Tolerance |
| D1 | ±1.5%, Or ±0.75 Mm Min. | T1 | ±15%, Or ±0.6 Mm Min. |
| D2 | ±1.0%, Or ±0.5 Mm Min. | T2 | ±12.5%, Or ±0.4 Mm Min. |
| D3 | ±0.75%, Or. ±0.3 Mm Min. | T3 | ±10%, Or ±0.2 Mm Min. |
| D4 | ±0.50%, Or ±0.1 Mm Min. | T4 | ±7.5%, Or ±0.15 Mm Min. |
| T5 | +/- 5.0 %, Or +/- 0.10 Mm Min. | ||
The tolerances on outside diameter and thickness from above table, greater value shall be selected.
EN 10312 has specific values in table series 1 and series 2.
America standard has two standard rules to specify outside diameter and thickness, ASTM A999 / A999M and A1016 / A1016M.
| ASTM A999 | ASTM A1016 |
|
|
But A511 for seamless stainless steel mechanical tubing and A554 welded stainless steel mechanical tubing not conform to above standards, they have separate outside diameter and thickness tolerances.
| Standard | Manufacturing & delivery condition | Outside Diameter OD / mm |
OD tolerance mm | Thickness T / mm |
T tolerance mm | |
|---|---|---|---|---|---|---|
| Minimum | Average | |||||
| ASTM A1016 A1016M |
Hot drawn seamless tubes | <=100 | +0.4, -0.8 | <=2.4 | +0.4t, 0 | |
| 100 – 200 | +0.4, -1.2 | 2.4 – 3.8 | +0.35t, 0 | |||
| 200 – 225 | +0.4, -1.6 | 3.8 – 4.6 | +0.33t, 0 | |||
| >=4.6 | +0.28t, 0 | |||||
| Cold drawn seamless tubes | <25 | +0.1, -0.11 | +0.20t, 0 | +/-0.10t | ||
| 25 – 40 | ||||||
| 40 – 50 | +/-0.2 | +0.22t, 0 | +/-0.10t | |||
| 50 – 65 | +/-0.25 | |||||
| 65 – 75 | +/-0.3 | |||||
| 75 – 100 | +/-0.38 | |||||
| 100 – 200 | +/-0.38, -0.04 | |||||
| 200 – 250 | +/-0.38, -1.14 | |||||
| Welded tubes | 40 – 50 | +/-0.2 | +0.18t, 0 | +/-0.10t | ||
| 50 – 65 | +/-0.25 | |||||
| 65 – 75 | +/-0.3 | |||||
| 75 – 100 | +/-0.38 | |||||
| 100 – 200 | +/-0.38, -0.04 | |||||
| 200 – 250 | +/-0.38, -1.14 | |||||
| ASTM A999 / M | Seamless tubes and welded tubes | <48.3 | +0.4, -0.8 | -0.125t | ||
| ASTM A312 / M | Seamless tubes and welded tubes | 48.3-114.3 | +/-0.8 | OD=10.3-73 | +0.20 t, -125t | |
| 168.3-219.1 | +1.6, -0.8 | t/OD<=5% OD=88.9-457.2 | +0.225 t, -125t | |||
| 219.1-457.2 | +2.4, -0.8 | t/OD>5% OD=88.9-457.2 | +0.15 t, -125t | |||
| Welded tubes | 508-660 | +3.2, -0.8 | OD>=508 | +0.175 t,-0.125 t | ||
| 711-864 | +4.0, -0.8 | t/OD<=5%, OD>=508 | +0.225 t,-0.125 t | |||
| Seamless tubes | 914-1209 | +4.8, -0.8 | t/OD>5%, OD>=508 | +0.15 t, -125t | ||
| ASTM A409 / M | Welded tubes | +/-0.2% | T<4.8 | |||
| +/-0.4% | t>=4.8 | |||||
| ASTM A358 / M | Welded tubes | +/-0.50% | ||||
| ASTM A511 | Seamless tubing | <=12.7 | +/-0.1 | +/-0.15t | ||
| 12.7-38.1 | +/-0.2 | +/-0.10t | ||||
| 38.1-88.9 | +/-0.3 | |||||
| 88.9-139.7 | +/-0.4 | |||||
| 139.7-203.1 | +/-0.8 | |||||
| 203.1-220 | +/-1.1 | |||||
| 220-325 | +/-1.6 | |||||
American standard outside diameter tolerance mainly used to represent the absolute value, over and below tolerances are often asymmetric, SS tube and pipe in American standard average tolerance can reach even higher than D4 class in EN ISO 1127 standard.
Wall thickness tolerance should be +/-10%t or better, and average thickness tolerance should be ( +/-20 – 22%t, 0 ), pipeline pipe has a larger tolerance, hot finished seamless pipe largest.
China has more quantity standards compared to European standards, but less than american standards, SS tube and pipe standards are similar with EU standards in system, and absorb favorable experience in USA specifications.
| Specification | Manufacturing | O.D(Mm) | O.D Tolerance | W.T(Mm) | W.T Tolerance | |
|---|---|---|---|---|---|---|
| GB13296 | Cold Rolled Seamless Pipe | 6-30 | ±0.15/-0.2 | 1-3 | +20% | -0% |
| >30-50 | ±0.3 | >3 | +22% | -0% | ||
| >50 | ±0.75% | Also Average Wall | ||||
| GB/T14976 | Cold Rolled Seamless Tube | 6-10 | ±0.15 | 1-3 | +12.5% | -12.5% |
| 10-30 | ±0.2 | >3 | +12.5% | -10% | ||
| 30-50 | ±0.3 | Average Wall, +22% | ||||
| >50 | ±0.8% | |||||
Stainless steel tube & pipe wall thickness tolerance are the same as the general accuracy of American ASTM / ASME and EU standards, but slightly lower than the high requirements of the EU standards.
Stainless steel tube & pipe outer diameter tolerances are mostly lower than American standards, and approaching the EU standards. it is more reasonable that the American standard specify the OD tolerance is tight, compared to thickness tolerance.
China GB standards and EU standard have no weight tolerance specified, seamless tube & pipe in GB standard delivery goods as actual weight or theoretical weight, welded tube & pipe as theoretical weight or actual weight.
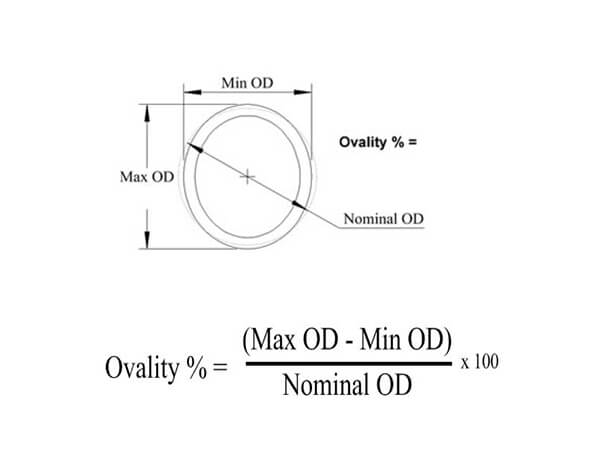
Out of roundness, sometimes referred to as ovality is tube or pipe on the same cross-section of the outer diameter, roundness or ovality is difference between the maximum and minimum dimensions of outside diameter, is carefully measured the high and low points at any one section of the tube or pipe.
Concentricity or eccentricity refers to tube & pipe wall thickness variations, if need a high precision in tube tolerance, or fit into other tube or parts, which need a good concentricity.
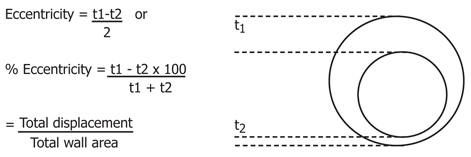
Concentricity be contained wall thickness tolerance specified in EU standard, and just specified in ASTM A1016/M OD≥50 mm and t≥5.6 mm thick wall stainless steel tube the same cross section thickness varieties.
For seamless tube,
WTmax – WTmin ≤ ±10% (WTmax + WTmin) / 2
For welded tube,
WTmax – WTmin ≤ 5% (WTmax + WTmin) / 2
Standard pipes and tubes are supplied straightened to the eye: for special applications the permissible deviation from the straight line may be agreed between purchaser and tube manufacturer; the maximum permissible deviation from the straight line related to the length of measurement L is to be indicated, e.g. 1mm/1000mm.

| OD Mm ≤ | OD Inches ≤ | Wall | Straightness Commercial | FT Achievable Mm |
|---|---|---|---|---|
| 15.9 | 0.625 | All Sizes | 1 In 600 | 1 In 2000 |
| 25.4 | 1.00 | 2% Of OD Or Heavier | 1 In 600 | 1 In 1500 |
| 25.4 | 1.00 | Less Than 2% Of OD | 1 In 400 | 1 In 1000 |
Delivery length is also called the length required by the user or the length of the order. The standard has the following regulations on delivery length:
A. Normal length / Random Length (also called non-fixed-length length): Any stainless steel tube whose length is within the length range specified by the standard and has no fixed length requirement is called normal length. For example, the structural stainless steel pipe standard stipulates: hot-rolled (extruded, expanded) steel pipe 3000mm - 12000mm; cold drawn (rolled) steel pipe 2000mm - 10500mm.
B. Fixed Length: The fixed-length should be within the usual length range, which is a certain fixed-length dimension required in the contract. However, it is impossible to cut out the absolute fixed-length length in actual operation, so the standard stipulates the allowable positive deviation value for the fixed-length length.
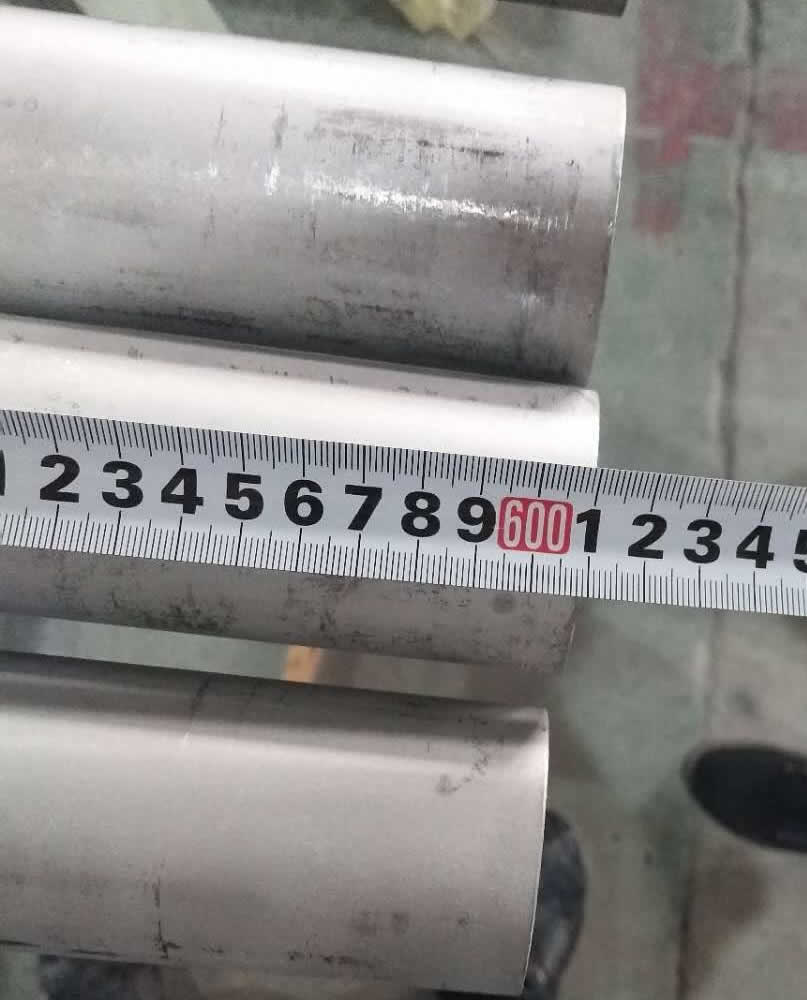
The yield rate of production of fixed-length pipes is much lower than that of normal-length pipes, and it is reasonable for manufacturers to request price increases. The rate of price increase varies from company to company. Generally, the price increase is about 10% on the basis of the base price.
C. Length of double ruler: The length of the double ruler should be within the usual length. The contract should indicate the length of the single ruler and the multiples of the total length (for example, 3000mm×3, which is 3 multiples of 3000mm, and the total length is 9000mm). In actual operation, the allowable positive deviation of 20mm should be added to the total length, plus a margin for the incision of each single ruler length. Take the structural pipe as an example, the allowance for cutting is stipulated: 5-10mm for outer diameter ≤159mm; 10-15mm for outer diameter >159mm.
If there is no double-length deviation and cutting allowance in the standard, it should be negotiated by the supplier and the buyer and indicated in the contract. The double-length scale is the same as the fixed-length length, which will bring about a substantial reduction in the yield rate of the manufacturer. Therefore, it is reasonable for the manufacturer to raise the price, and the price increase is basically the same as the fixed-length length.
D. Range length: The range length of the stainless steel pipe is within the usual length range. When the user requires a fixed range length, it must be indicated in the contract.
For example: Usually the length is 3000-12000mm, and the range cut-to-length length is 6000-8000mm or 8000-10000mm.
It can be seen that the range length is looser than the fixed-length and double-length length, but it is much stricter than the usual length, which will also reduce the yield of production enterprises. Therefore, it is reasonable for the manufacturer to raise the price, and the price increase is generally about 4% above the base price.
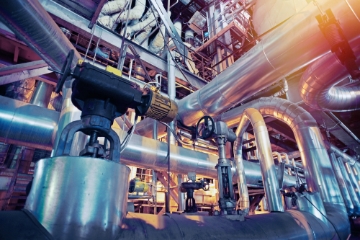
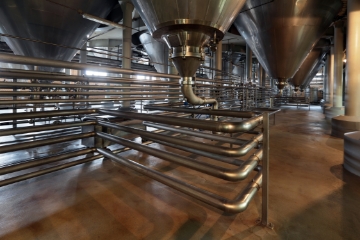
Stainless steel pipe (tube) has excellent characteristics of corrosion resistance and smooth finishing. Stainless steel pipe (tube) is commonly used in demanding equipment like automobiles, food processing, water treatment facilities, oil and gas processing, refinery and petrochemicals, breweries and energy industries.
The stainless steel tubing that is supplied by SunnySteel can used in a variety of industries, including:
Considering the importance of outside and inside surface of stainless steel tubes for fluid power industry, Our mills are providing tubes that are free from scale, rust, seams, laps.
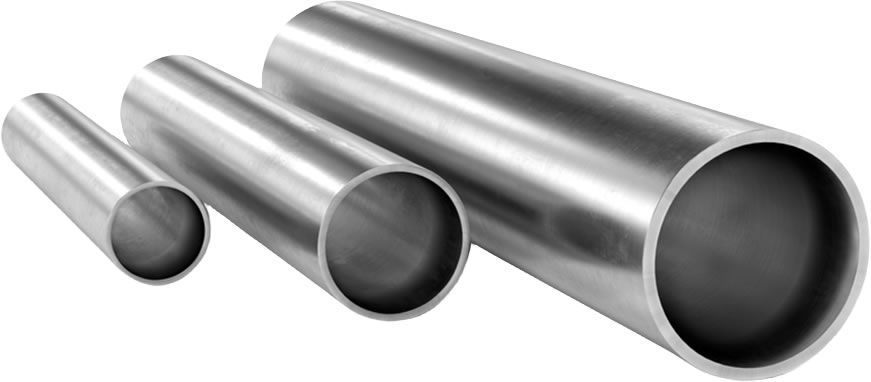
Stainless steel density refers to substance mass per unit volume, it is one of typical property of stainless steel, commonly, density of stainless steel range from 7600 kg/m3 to 8000 kg/m3.
Stainless steel is a wide used material, containing at least 10.5% of Chromium, and other elements added to form stainless steel structure, these elements have Carbon, Silicon, Manganese, Phosphorus, Sulfur, Nickel, Molybdenum, Titanium and Copper, it is noted as high strength and excellent corrosion resistance.
Densities change depending on these alloy elements changing, different alloy content have different density value, even it is the same grade, it is difficult to calculate accurate density values, theoretic density value is given below for reference.
The following is the comparison of several commonly used stainless steel density, data may not be completely accurate, only for reference.
| Grade | Density ( G / Cm3 ) | Density ( Kg / M3 ) |
|---|---|---|
| 201 202 301 302 303 304 304L 304LN 305 321 |
7.93 | 7930 |
| 309S 310S 316 316L 316Ti 316LN 317 317L 347 |
7.98 | 7980 |
| 904L | 7.98 | 7980 |
| 2205 S31803 |
7.80 | 7800 |
| S32750 | 7.85 | 7850 |
| 403 410 410S 416 431 |
7.75 | 7750 |
| 440A | 7.74 | 7740 |
| 440C | 7.62 | 7620 |
| 420 | 7.73 | 7730 |
| 439 430 430F |
7.70 | 7700 |
| 434 | 7.74 | 7740 |
| 444 | 7.75 | 7750 |
| 405 | 7.72 | 7720 |
*These densities given at standard conditions for temperature and pressure condition.
304 And 316 Stainless Steel Densities
304 and 316 are the most used stainless steel grades, their densities are not the same, this decide by chemical composition and content, stainless steel 304 density is 7930 kg / m3, 316 density is 7980 kg / m3, so when calculating stainless steel weight, it is different between 304 and 316 stainless steel.
Stainless Steel Density Conversion, Kg/M3, G/Cm3 And Lbs/In3
Density of stainless steel calculated by dividing the mass by the volume, usually measured in g/cm3, kg/m3, and lbs/in3, each unit can be converted to other units.
Density Relations With Temperature And Pressure
Densities of stainless steel vary by changing either the temperature or the pressure, in general, increasing the temperature decreases the density, increasing the pressure always increases the density.
Seamless and welded are mainly two types stainless steel tube & stainless steel pipe, there is a debate whether seamless is better than welded for a long time.
Although with improved metallurgy and welding processes in welded tubes, the arguments typically focus on structural integrity and corrosion resistance in weld area.
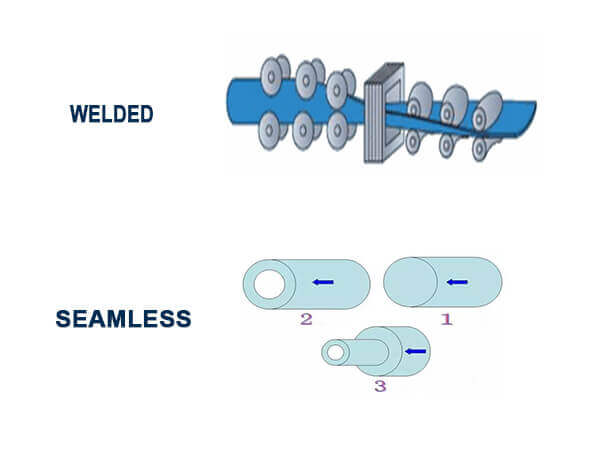
Obviously, seamless and welded tubes & pipes difference is manufacturing process.
There are some cases where paying extra for a different, higher-performing alloy is necessary.
Depending on the outer dimension, wall thickness and final application, there are different ways of manufacturing welded tubes and pipes, and different manufacturing method.
Welded tube start from stainless steel strip and coil that is passed through grooved rollers till the shape is formed and the free edges are properly shaped for welding, cold forming is performed step by step from flat strip into a round profile, the edges are welded together as they approach the welding rolls.
Typical welding method for strip welded tubes is traditionally autogenous tungsten inert gas (TIG), TIG welding method have some advantages that can effectively protect weld seam.
After welding outside and inside grinding of the weld seam, solution annealing or stress relieving may be necessary by application requirements.
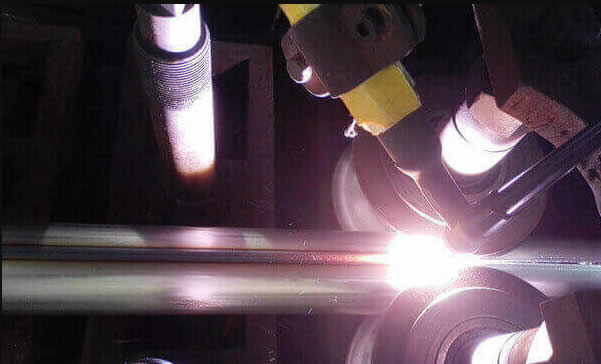
Today, most of the modern welding lines are equipped with inline induction annealing, then straitening and calibration to control dimension of tube & pipe, cut to standard or special lengths, de-burred, NPD & DT testing and inspection should be carried out as standard or requirement.
When large outside diameter or heavy wall or both welded tubes & pipes required, there is a different welding method and process, for large diameter and heavy wall pipes, EFW, ERW and other welding methods can be used.
Starting from stainless steel plate or sheet, the forming is done in a roller bending machine or in a hydraulic press, then some steps are same with strip welded tubes.
For testing and inspection, large diameter sizes, radiography test (RT) and hydrostatic test (HT) are often required.
For large diameter welded pipes, double welding method can be accepted.
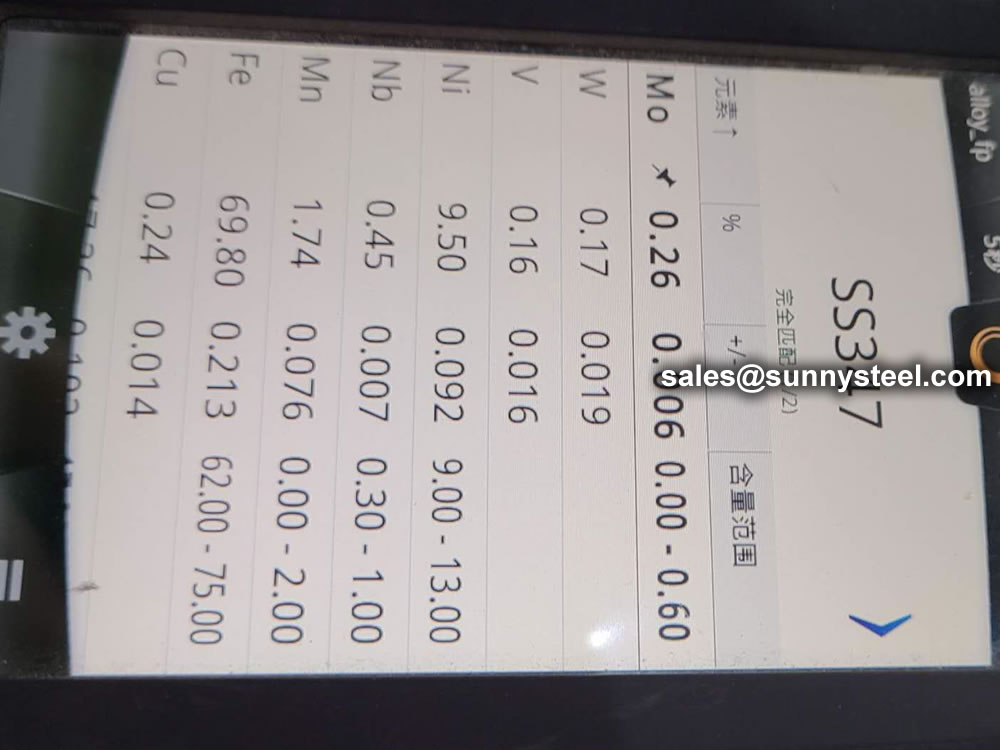
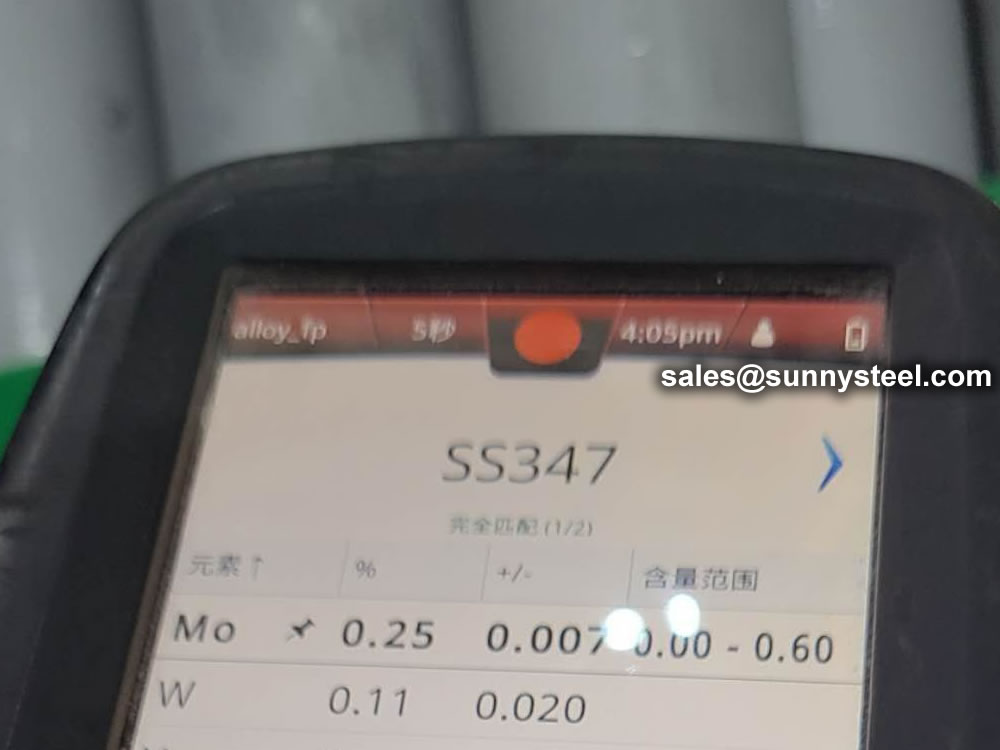
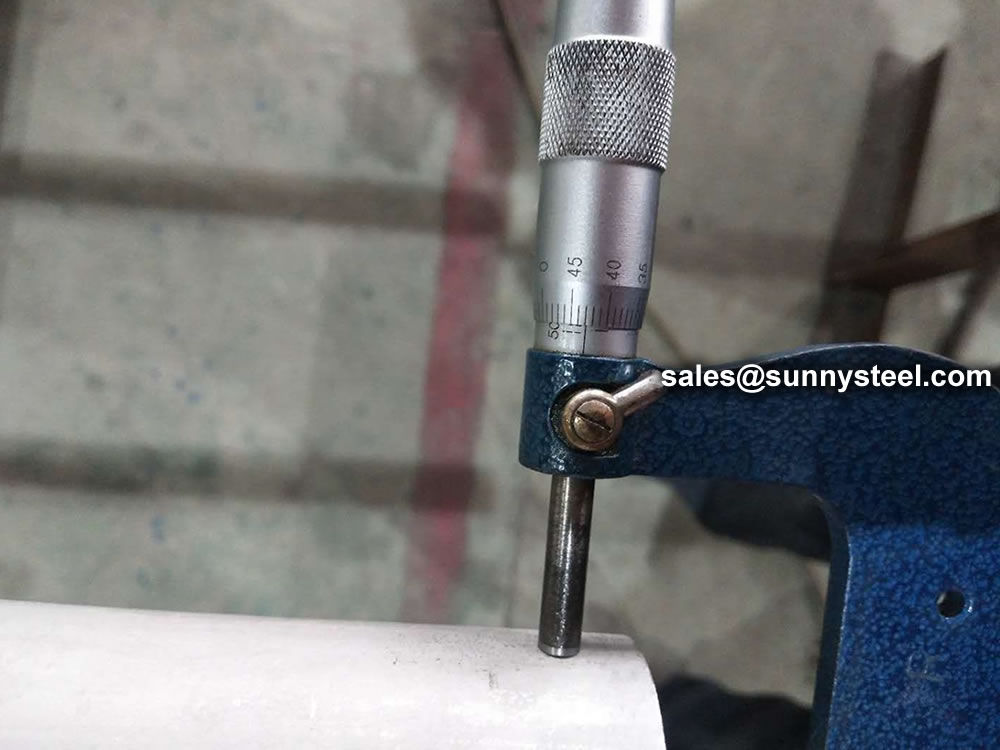
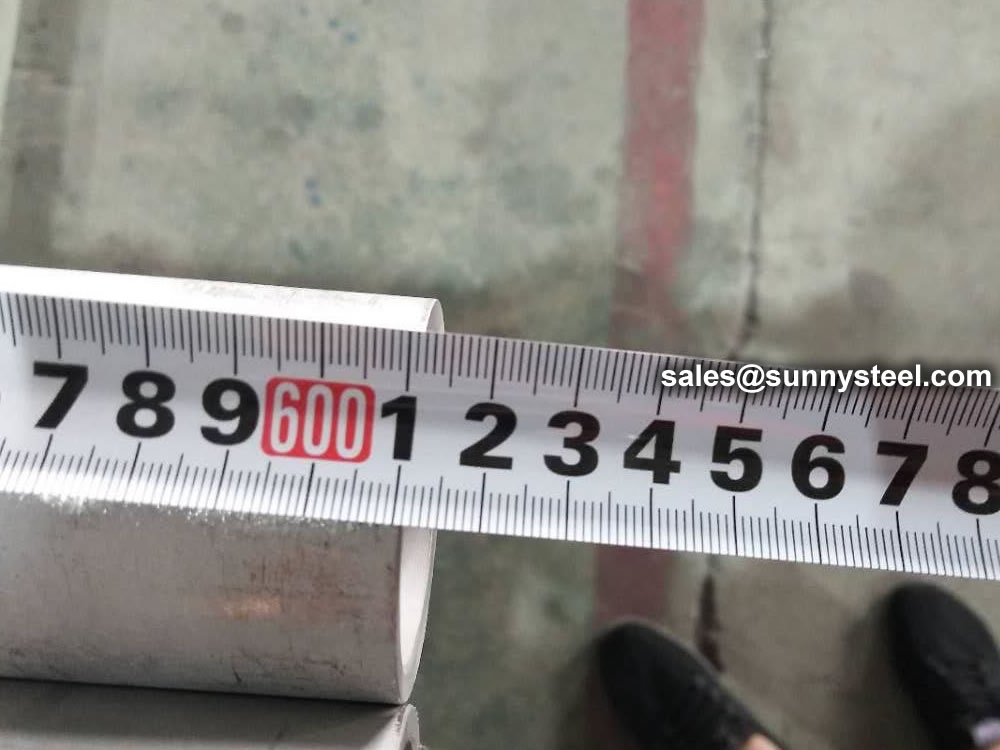
Chemical composition inspection, mechanical properties test(tensile strength,yield strength, elongation, flaring, flattening, bending, hardness, impact test), surface and dimension test,no-destructive test, hydrostatic test.
identification of the chemical composition of the metal used to manufacture the fitting. Uses PMI sensors, including X-ray fluorescence or optical emission spectrometry.
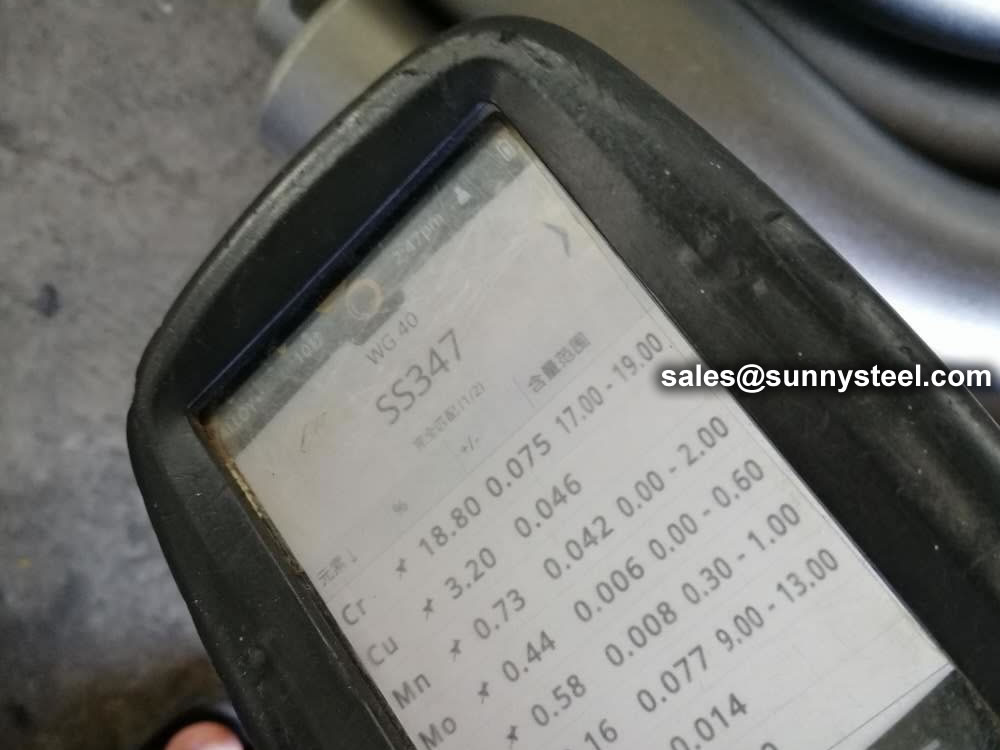
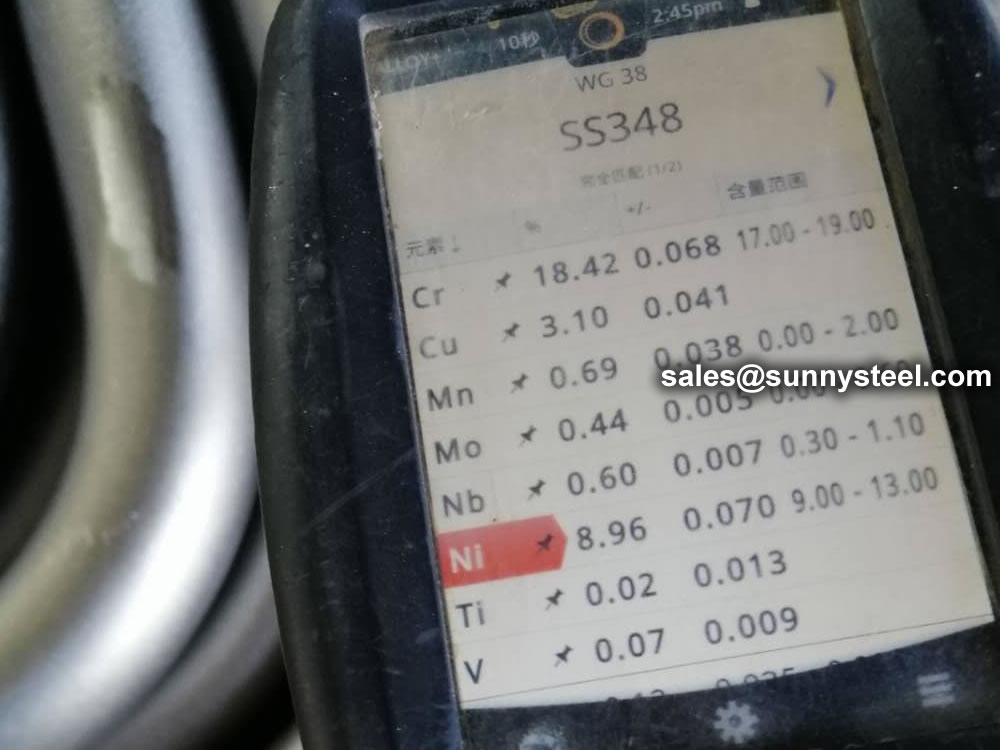

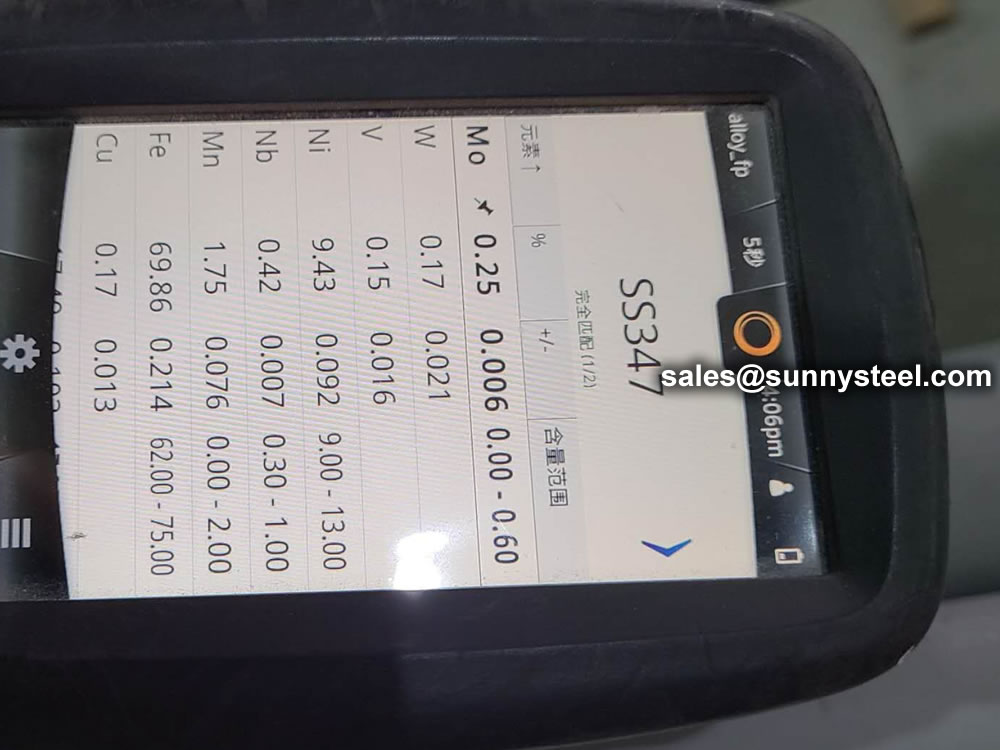

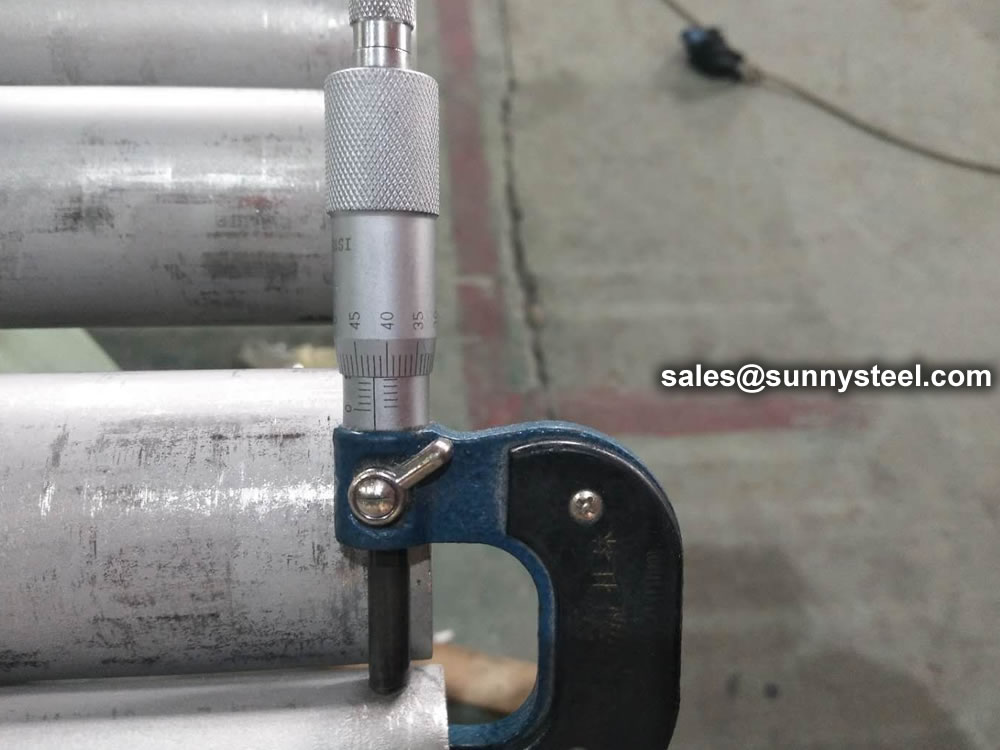

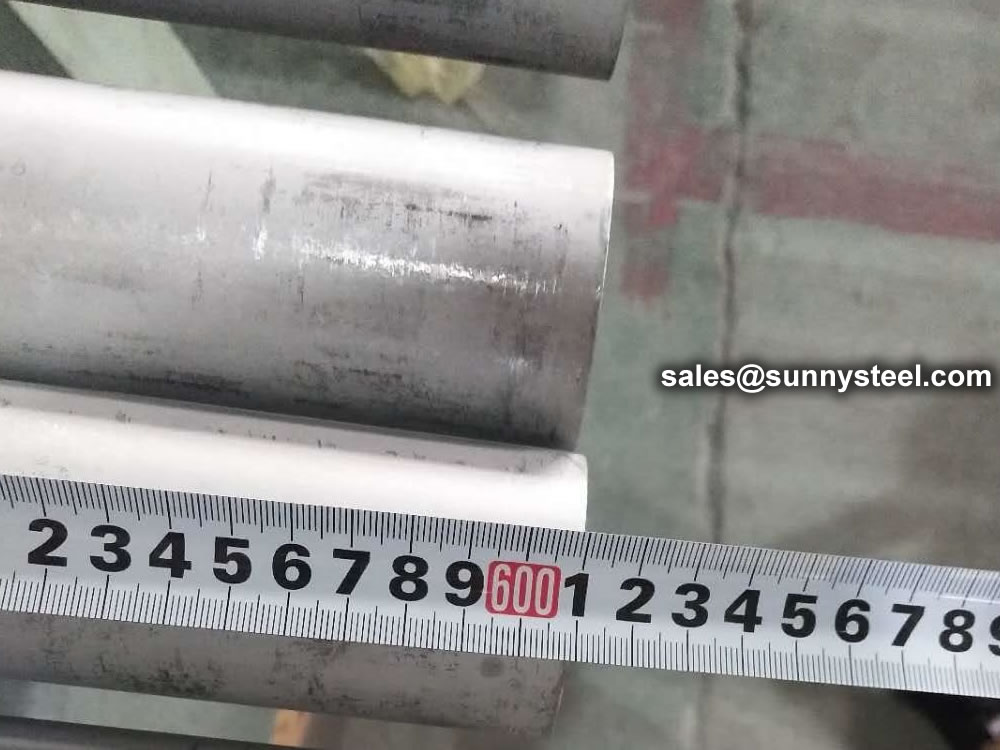
Steel pipe delivery status(condition): cold / hard (BK), cold / soft (BKW), after cold stress relief annealing (BKS), annealing (GBK), normalized (NBK).
| Term | Symbol | Explanation |
| Cold-finished/hard (cold-finished as-drawn) | BK | No heat treatment after the last cold-forming process. The tubes therefore have only low deformability. |
| Cold-finished/soft (lightly cold-worked) | BKW | After the last heat treatment there is a light finishing pass (cold drawing) With proper subsequent processing, the tube can be cold-formed (e.g. bent, expanded) within certain limits. |
| Annealed | GBK | After the final cold-forming process the tubes are annealed in a controlled atmosphere or under vacuum. |
| Normalized | NBK | The tubes are annealed above the upper transformation point in a controlled atmosphere or under vacuum. |
The general cold strip mills, volume should go through continuous annealing (CAPL unit) to eliminate cold hardening and rolling stress, or batch annealing reach the mechanical properties of the corresponding standard specifies. Cold rolled steel surface quality, appearance, dimensional accuracy better than hot-rolled plate, and right-rolled thin product thickness is about 0.18mm, so the majority of users favor.
Cold rolled steel coil substrate products deep processing of high value-added products. Such as electro-galvanized, hot dip galvanized, electro-galvanized fingerprint resistant, painted steel roll damping composite steel, PVC laminating steel plates, etc., so that the excellent quality of these products has a beautiful, high resistance to corrosion, has been widely used.
Cold rolled steel coil finishing after annealing, cut the head, tail, trimming, flattening, smooth, heavy volume, or longitudinal clipboard. Cold-rolled products are widely used in automobile manufacturing, household electrical appliances, instruments, switches, buildings, office furniture and other industries. Steel plate strapping package weight of 3 to 5 tons. Flat sub-volume typically 3 to 10 tons / volume. Coil diameter 6m.
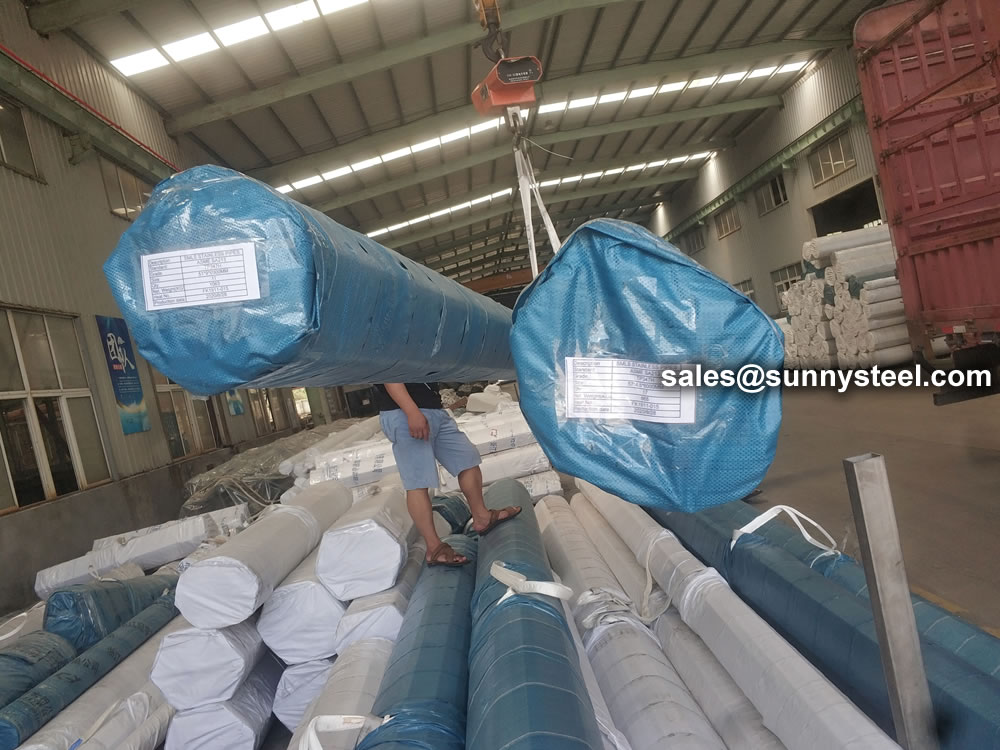
Bare packing/bundle packing/crate packing/wooden protection at the both sides of tubes and suitably protected for sea-worthly delivery or as requested.
There are probably hundreds of different methods for packing a pipe, and most of them have merit, but there are two principles that are vital for any method to work prevent rusting and Sea transportation security.

Our packing can meet any needs of the customers.
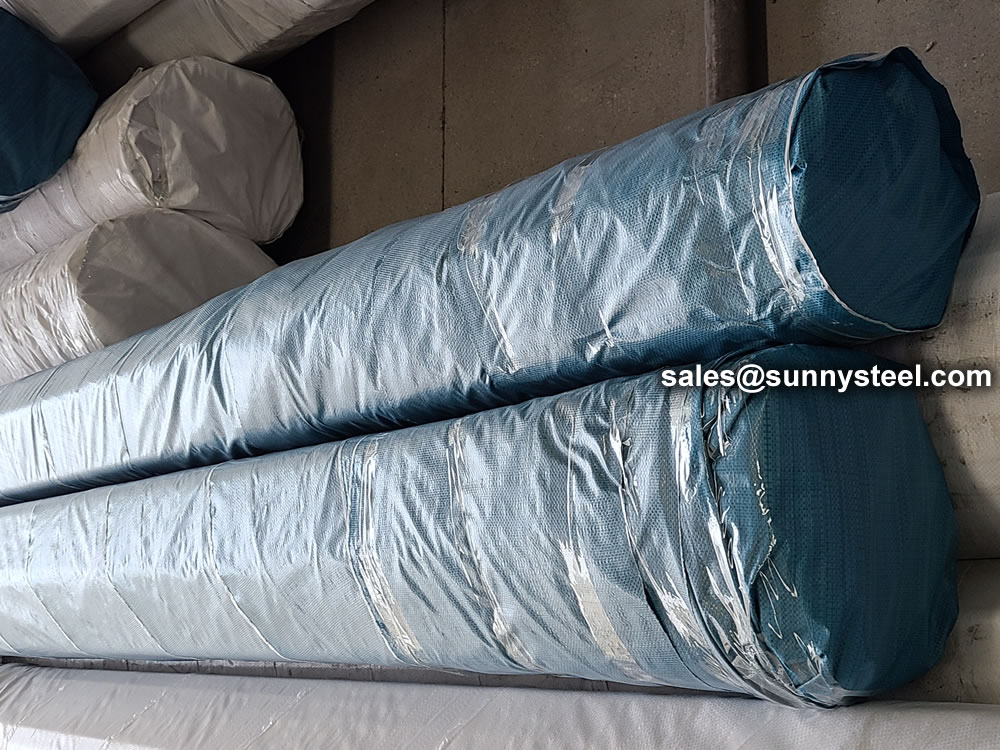
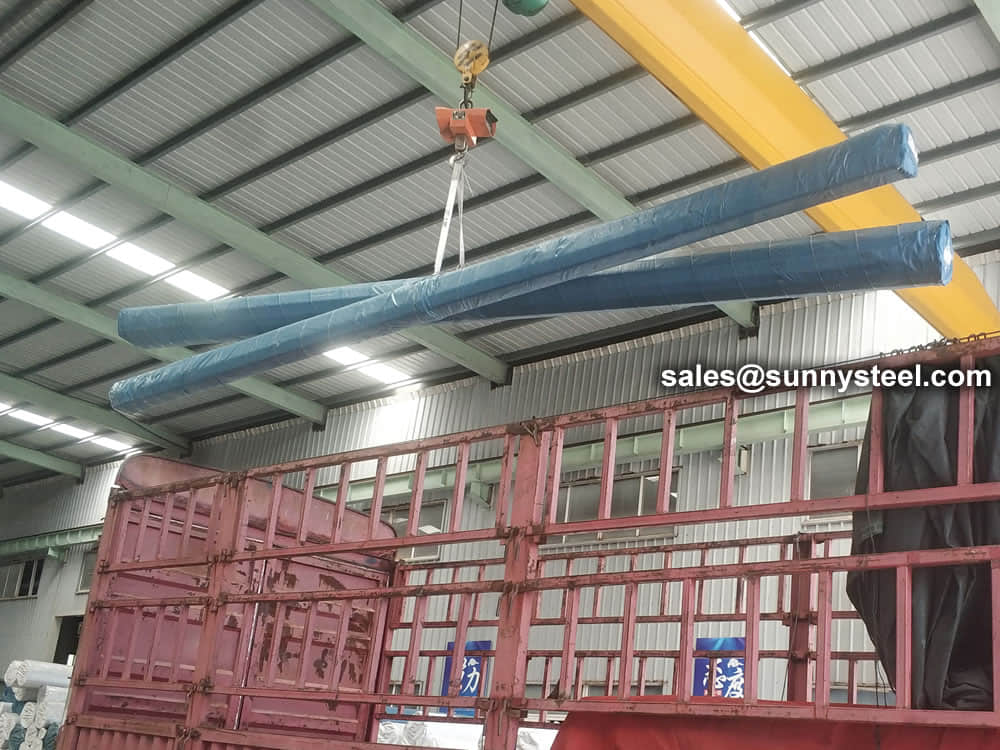


Beveling Stainless Steel tubes contain one end angled, so that it mates with a complementary tube end. Tubes can be beveled for certain applications in order to make welding of stainless steel tubes easier, which saves weld prep time and money compared to hand cutting.
Eastern Steel can heat treat some 400 series stainless steel seamless tube. Heat treating realizes stress as a result of hardening, depending upon the chemistry of the metal being treated. Heat treating is also used for tempering, quenching, normalizing, and solution annealing.
During the honing/turning process, an abrasive rotating tool removes metal from the interior surface of a cylinder, pipe, or tube. The main purpose of honing is to finish the surface to a particular diameter and/or desired cylindrical geometric design. Honing is typically a secondary machining operation that completes a produce/part, relieves stress created during production, or corrects features of the finished product. A typical production cycle is to drill, ream, heat treat, then hone.
POSITIVE MATERIAL IDENTIFICATION (PMI)
In some cases, it may be necessary to complete additional positive material identification testing. Eastern Steel can complete this testing in house or we can work with an independent laboratory to complete the testing. Please contact us for specific requirements.
Ultrasonic Testing (UT) utilizes sound energy at high frequencies, in order to provide examinations and measurements of the stainless steel product. This aids in flaw detection/evaluation, dimensional measurements, etc.
Commonly used alloying elements and their effects are listed in the table given below.
| Alloying Elements | Effect on the Properties |
|---|---|
| Chromium | Increases Resistance to corrosion and oxidation. Increases hardenability and wear resistance. Increases high temperature strength. |
| Nickel | Increases hardenability. Improves toughness. Increases impact strength at low temperatures. |
| Molybdenum | Increases hardenability, high temperature hardness, and wear resistance. Enhances the effects of other alloying elements. Eliminate temper brittleness in steels. Increases high temperature strength. |
| Manganese | Increases hardenability. Combines with sulfur to reduce its adverse effects. |
| Vanadium | Increases hardenability, high temperature hardness, and wear resistance. Improves fatigue resistance. |
| Titanium | Strongest carbide former. Added to stainless steel to prevent precipitation of chromium carbide. |
| Silicon | Removes oxygen in steel making. Improves toughness. Increases hardness ability |
| Boron | Increases hardenability. Produces fine grain size. |
| Aluminum | Forms nitride in nitriding steels. Produces fine grain size in casting. Removes oxygen in steel melting. |
| Cobalt | Increases heat and wear resistance. |
| Tungsten | Increases hardness at elevated temperatures. Refines grain size. |

When you partner with Sunny Steel, you can stop worrying about meeting deadlines thanks to our responsive and timely service. You'll also say goodbye to unnecessary shopping around. Instead, you'll get white glove service from an expert who understands your needs and can get you the materials you need quickly.
